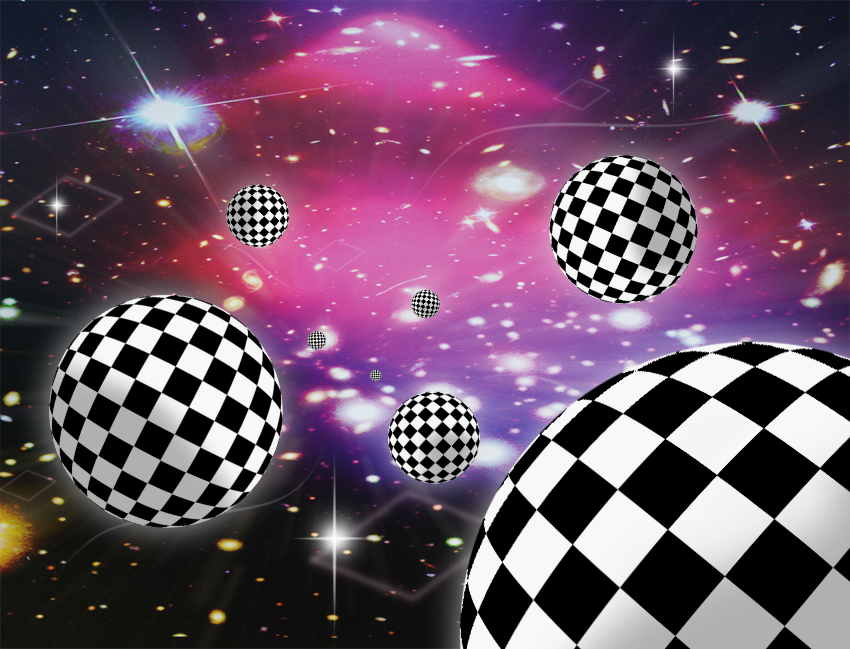
This tutorial shows on how to make picture into digital pieces. This is quick and easy to do but it takes time and patience to get the final result but it's worth it! (This contains monotonous process).
The Pattern
1.Create new file 50 x 50 and set its background contents to
Transparent.
2.Create new
Layer.
3.Zoom in for about 1200% or Fit Screen.
4.Grab your
Pencil Tool and set to 1 px.
And start to draw an "
L" like.
5.Select all (
Ctrl + A) then go to
Edit >>
Define Pattern >>name
Pattern and we're done!
The Picture
1.Create new file.
Mine, I used 850 x 670.
2.Import/Place picture.
3.Now let's
Rasterize the picture.
Just right click and select
Rasterize from the dropdown menu.
4.Create new
Layer.
5.Go to
Edit >>Fill >>Pattern >>L Pattern.
The result should look like this:
6.Select your
Magic Wand Tool.
And set settings shown below:
7.Choose
Layer 1 and click (using
Magic Wand Tool), and it creates a square selection as shown below.
8.Select picture's
Layer.
Go to Layer >>New >>Layer via cut (
Ctrl + Shift + J).
Hide the cut
Layer to trace area which are not being cut. (Just repeat steps 6, 7 and 8).
9.Repeat steps 6,7 and 8 until you reach this picture shown below:
I got 107 Layers via cut.
10.Delete picture's Layer.
11.Hide/Delete Layer 1(which contains our Pattern) and Unhide all cut pictures as shown below:
The Background
12.Go to menu and select Gradient:
Here's our image with the background:
13.Select Move Tool and check Auto-Select.
With Auto-Select, you just have to drag and move the pieces in the work area without going to it's respective Layers.
14.Scatter and resize (some of the pieces) these tiny pictures accordingly.
15.Apply Layer Style to each pieces:
Drop Shadow and Stroke.
The result should look like this:
16.Add some text and shadows.
And here's final Result:
I hope you like it!
Follow me on Facebook and Twitter for more tutorial updates.